Looking for ways to change the number of products that appear per page in your WooCommerce store?
The default number of products that appear on a WooCommerce Shop page is 16, spread across 3-4 rows. However, this type of layout is not a good fit for many WooCommerce websites.
Say, for instance, you have increased your product image size and added product details or newsletter boxes to the Shop page. Since there are 16 products on the page, it will look cluttered and unprofessional.
An efficient way to fix this problem is to decrease the number of products on the Shop page and also modify the number of rows that appear per page.
In this tutorial, I’ll show you how to change the number of products and rows that WooCommerce shows on your Shop and catalog pages.
WooCommerce’s Default Options
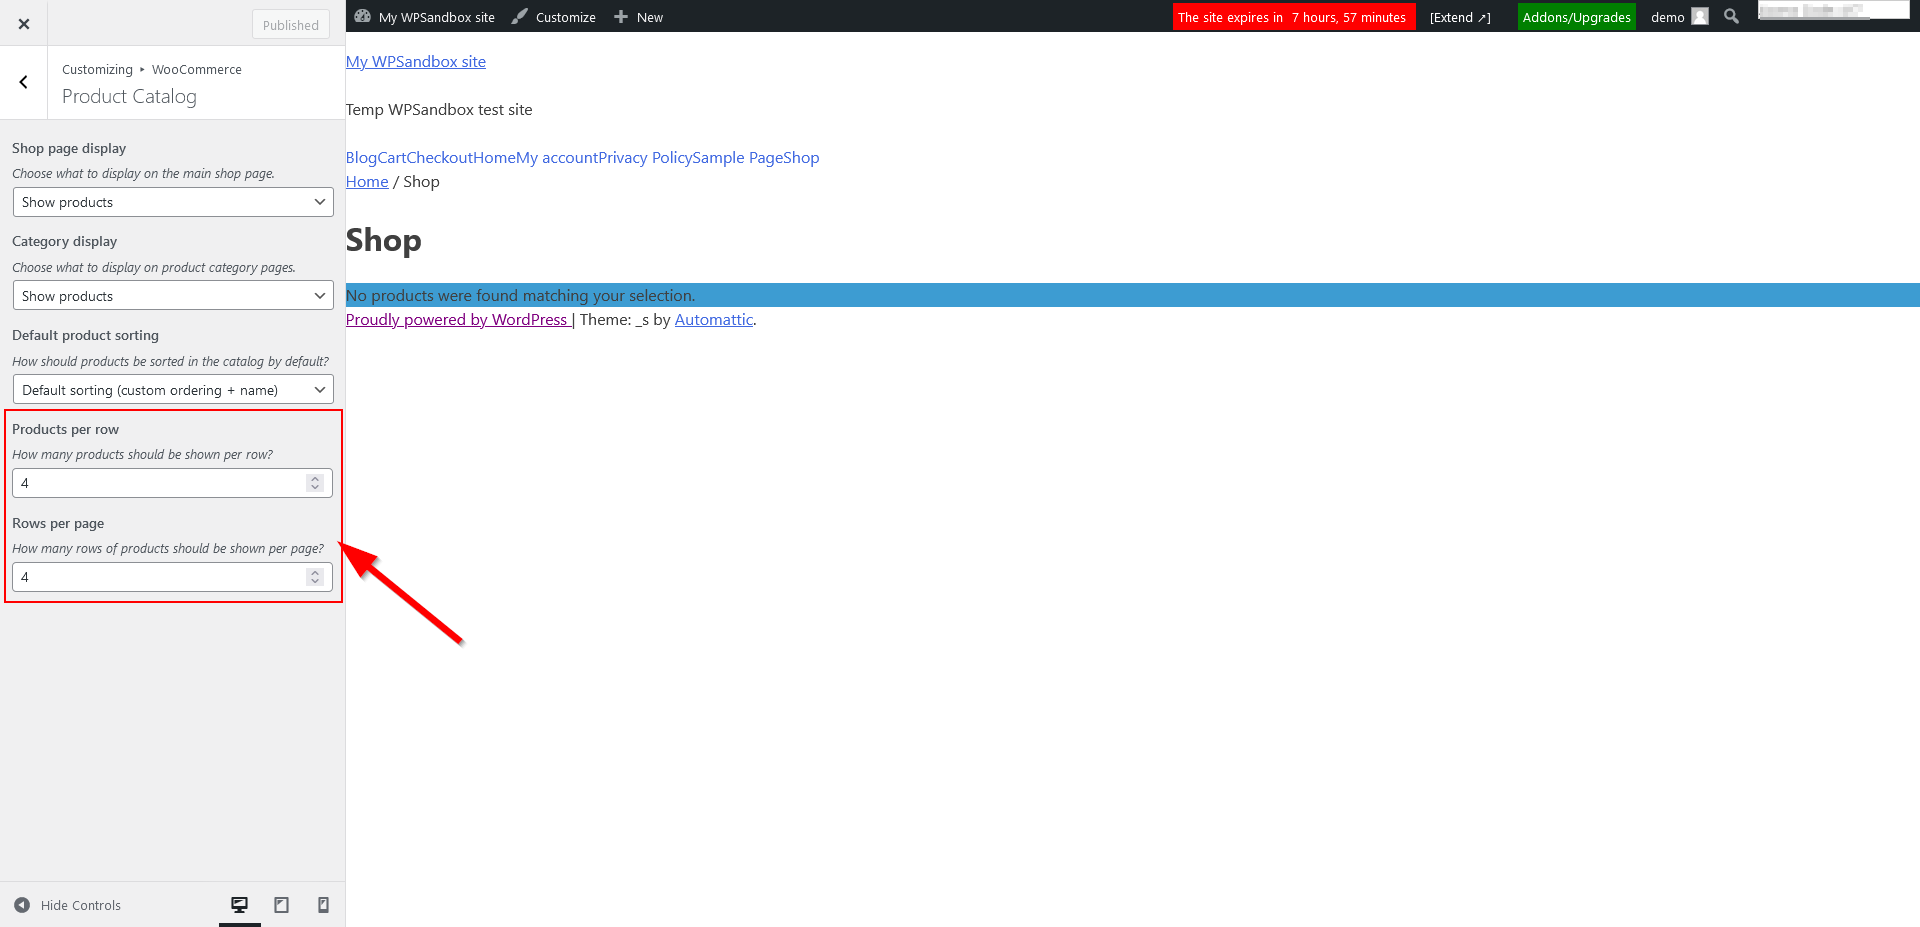
WooCommerce has a basic feature that lets you change the number of products and rows on your Shop page. You can access it from the Appearance → Customize → WooCommerce → Product Catalog menu in your WordPress admin area.
In the screenshot below, you can see what it looks like with Automattic’s (the maintainer of WordPress) _s base theme, which doesn’t add any extra options to the Customizer:
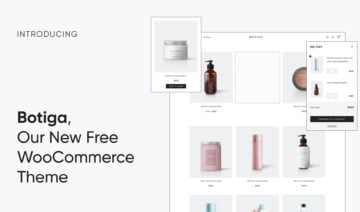
In this tutorial, I’ll show you a more flexible solution — our free Botiga WooCommerce theme.
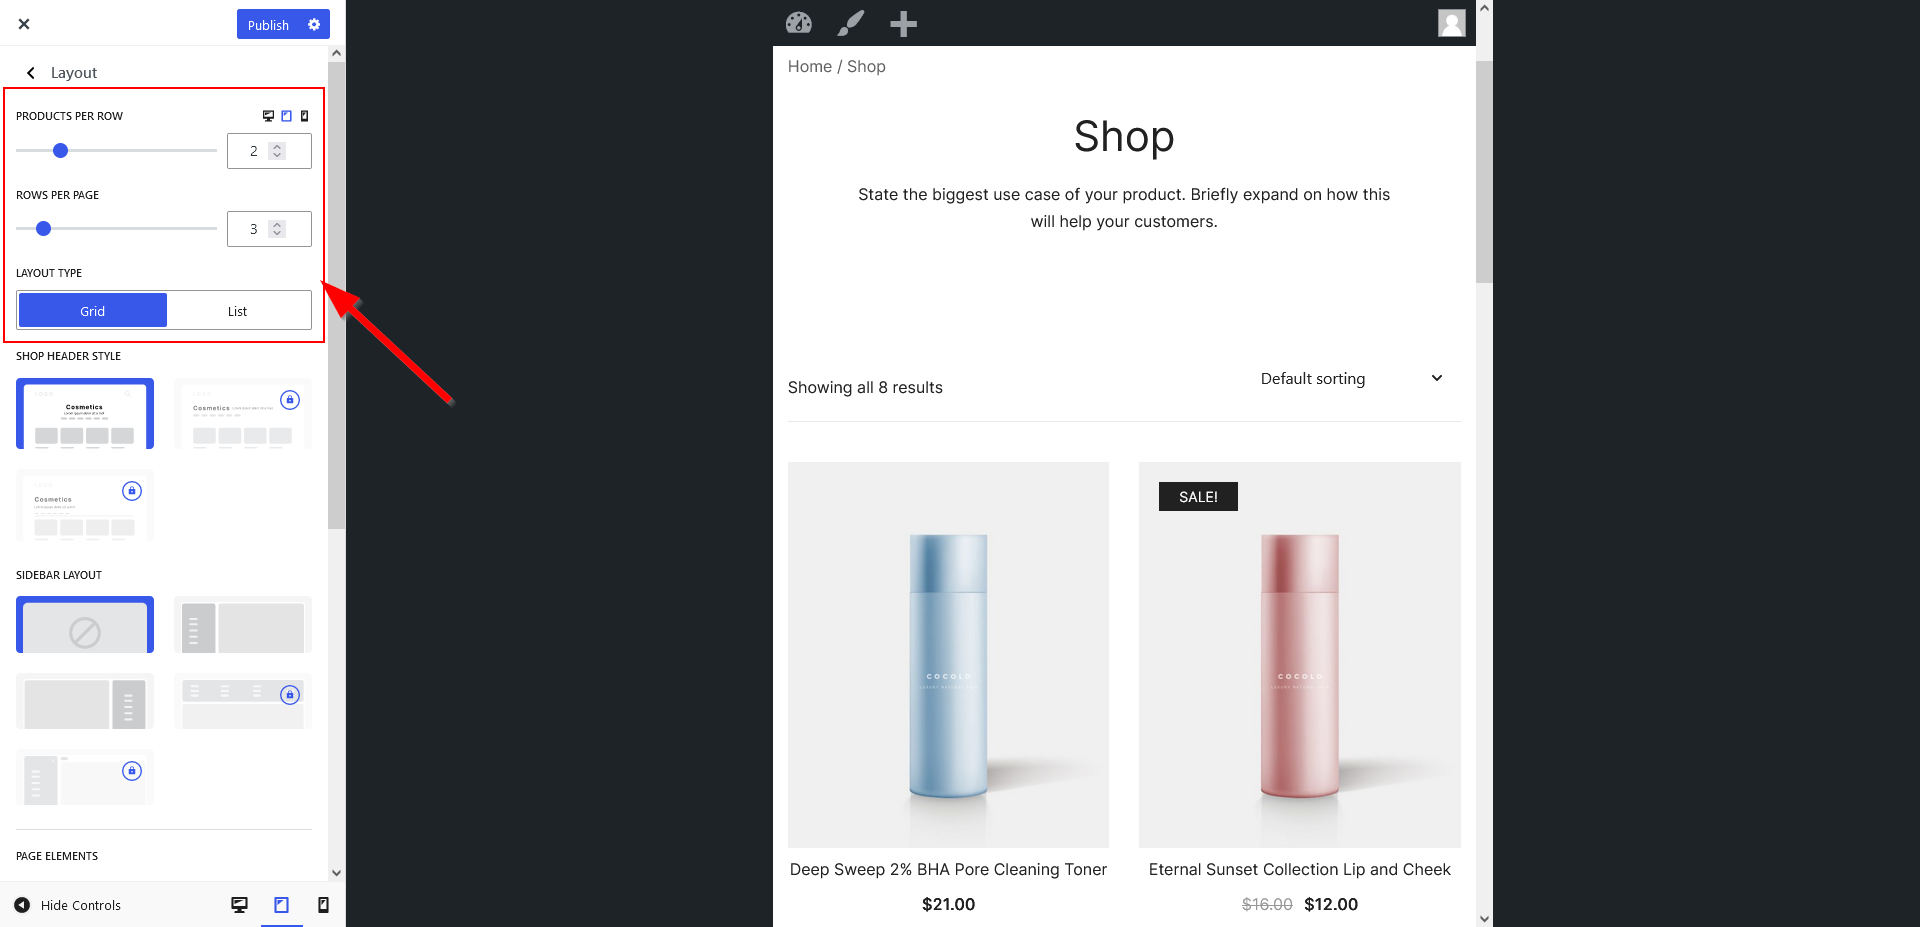
In addition to having the option to change the rows and columns using an intuitive slider, you can also choose between a grid- and list-style product catalog layout.
Plus, you can define different ‘Product per row’ and ‘Rows per page’ values for tablet and mobile screens, which significantly improves the customer experience of shoppers who access your store from small-screen devices:
Now let’s see how to use the free Botiga theme to change the number of products displayed per page in your WooCommerce store.
1. Install and Activate the Botiga Theme
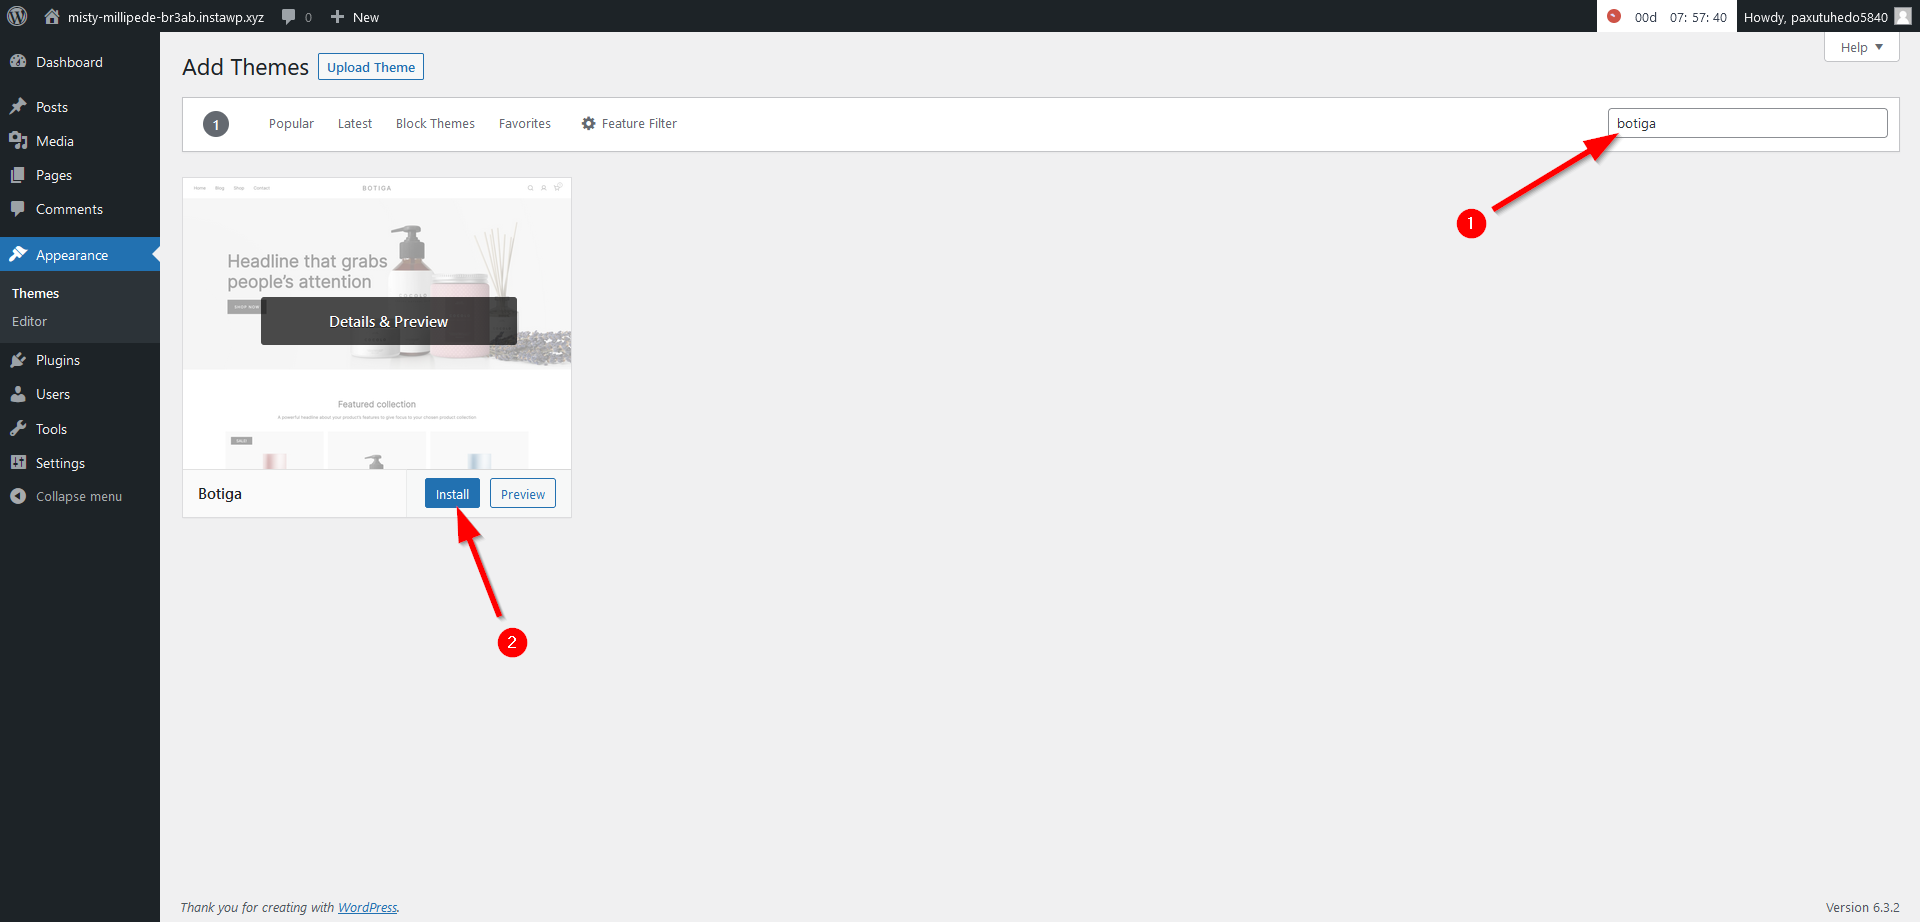
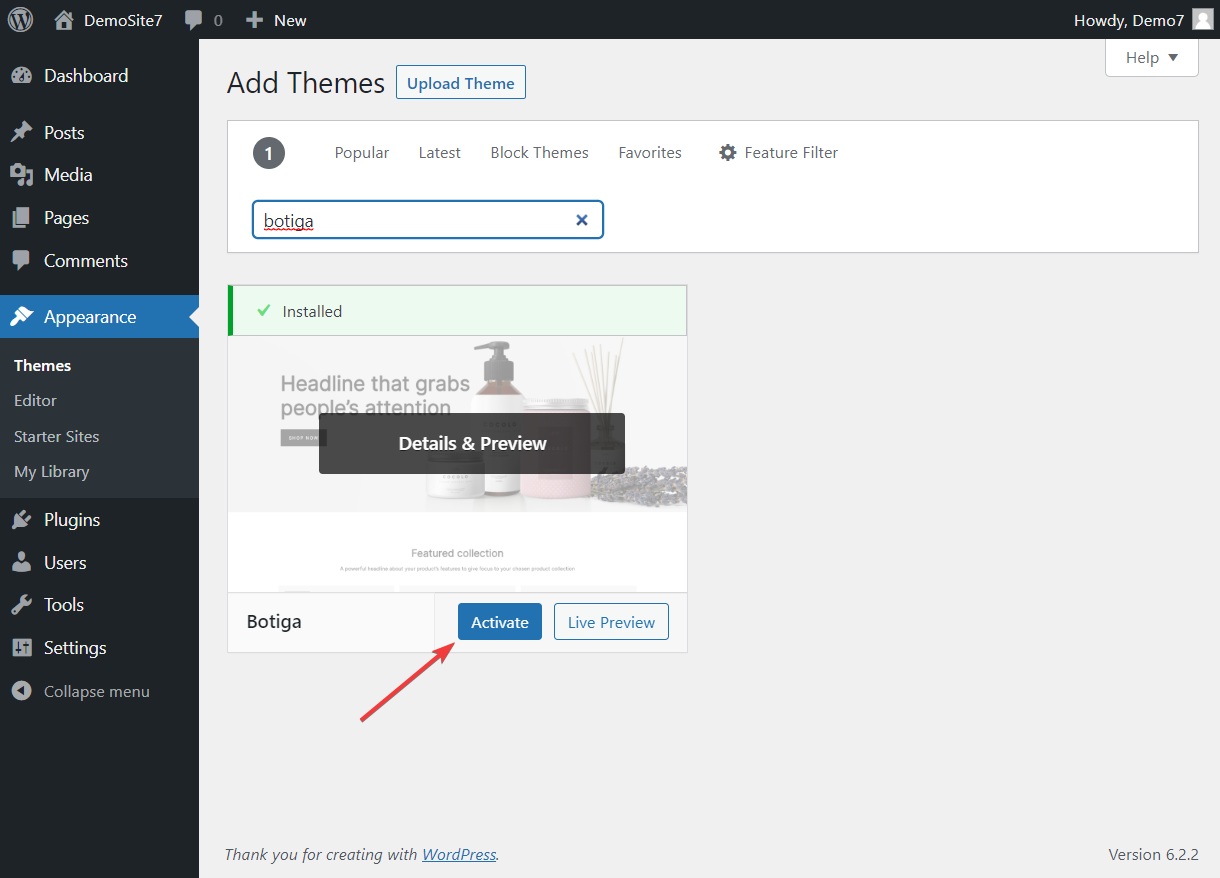
To install and activate Botiga, open your WordPress dashboard, go to Appearance → Themes → Add New, and enter “Botiga” into the search bar.
Once the theme appears on the screen, click the Install, then the Activate buttons:
Alternatively, you can download Botiga from our website then go to Appearance → Themes → Add New and click the Upload Theme button.
Once the file uploader shows up on the screen, upload the theme by clicking the Choose File button:
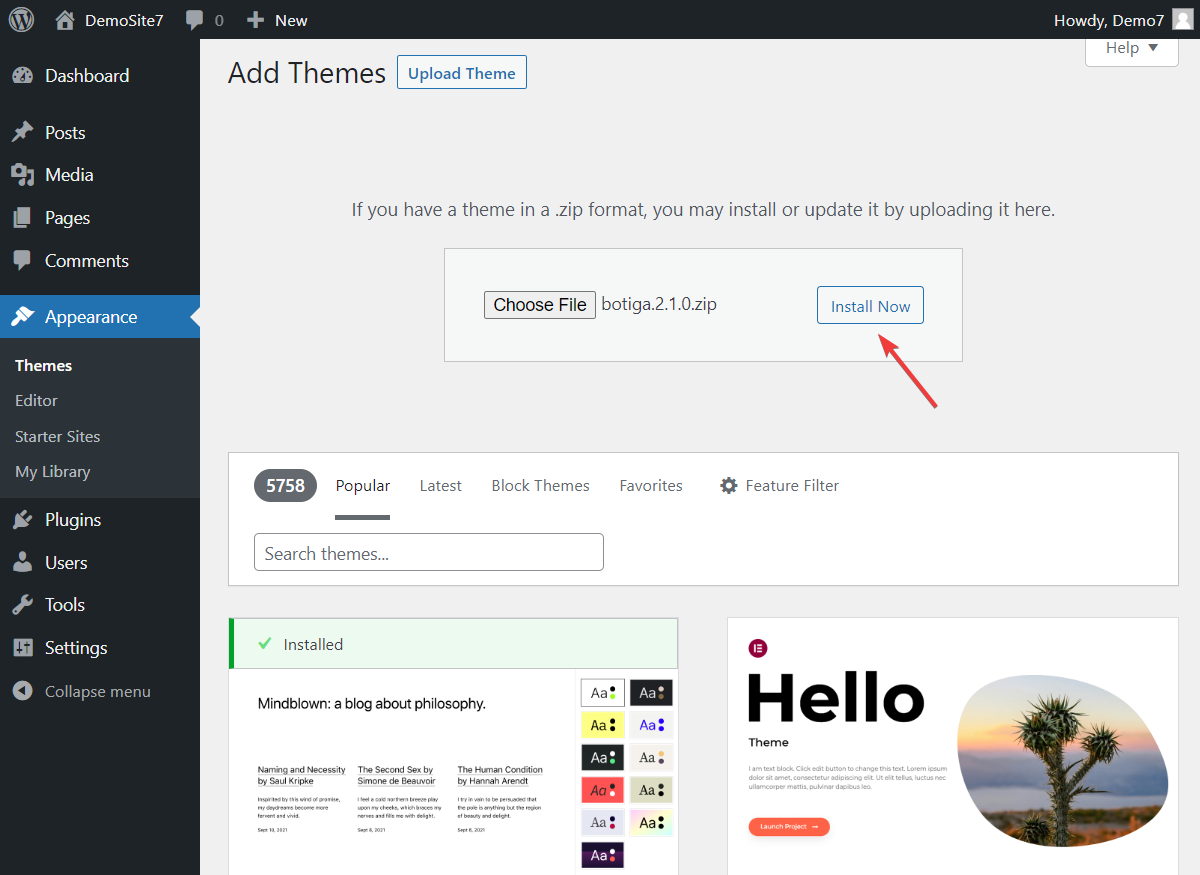
Then, click the Install and Activate buttons to install and activate the theme:
2. Import a Botiga Starter Site (Optional)
Starter sites are pre-built website designs that you can import with a few clicks.
Botiga starter sites are known for their elegant and professional designs that work seamlessly with the WordPress block editor (Gutenberg) and the Elementor page builder. These websites are crafted for conversion.
Importing a Botiga starter site is not a mandatory step, but it can help a lot with setting up your WooCommerce store.
You can preview the starter sites by going to Botiga → Starter Sites and clicking the Preview buttons:
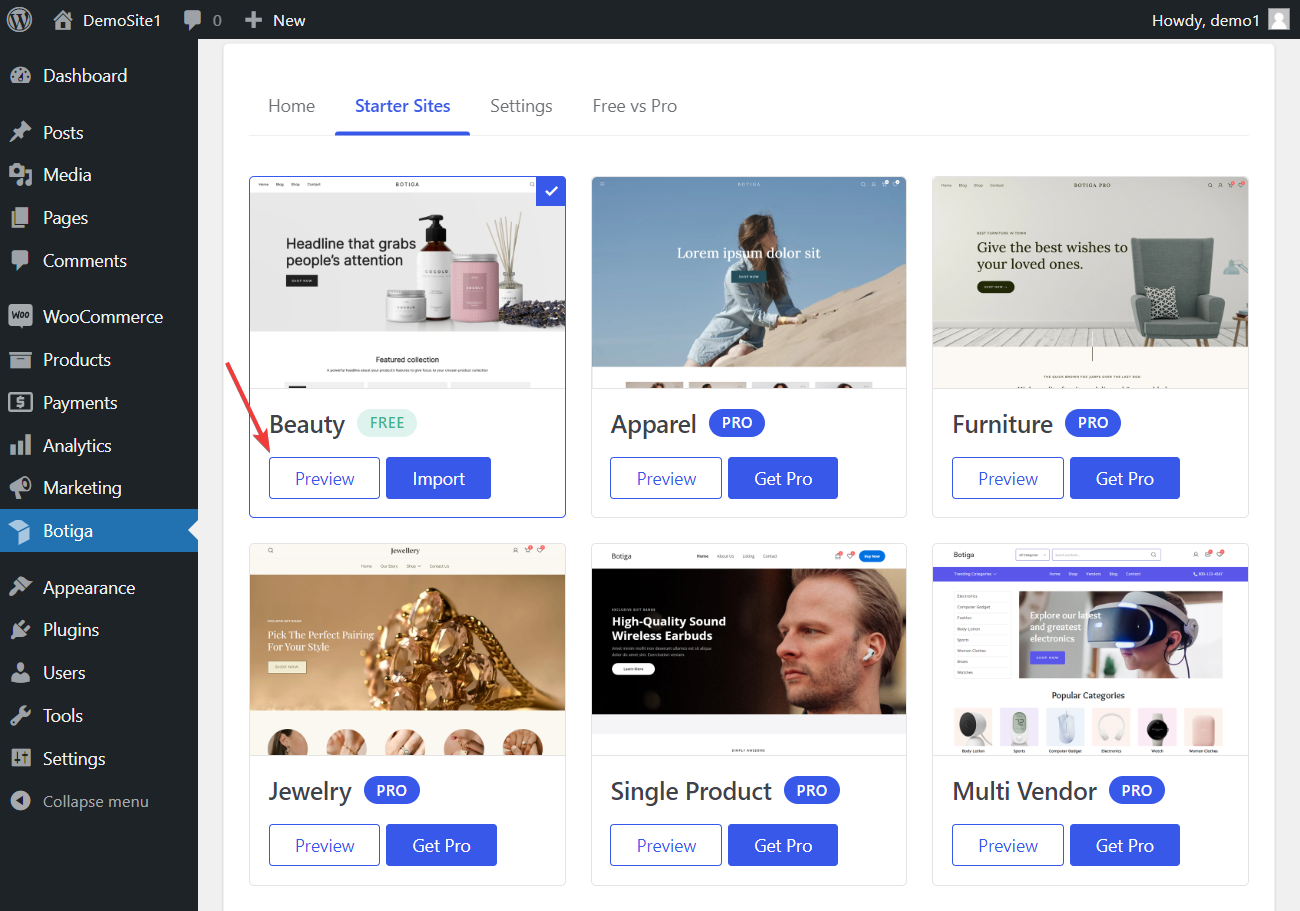
To import a starter site to your WooCommerce store, click the Import button — for this tutorial, I’ll install the free Beauty demo.
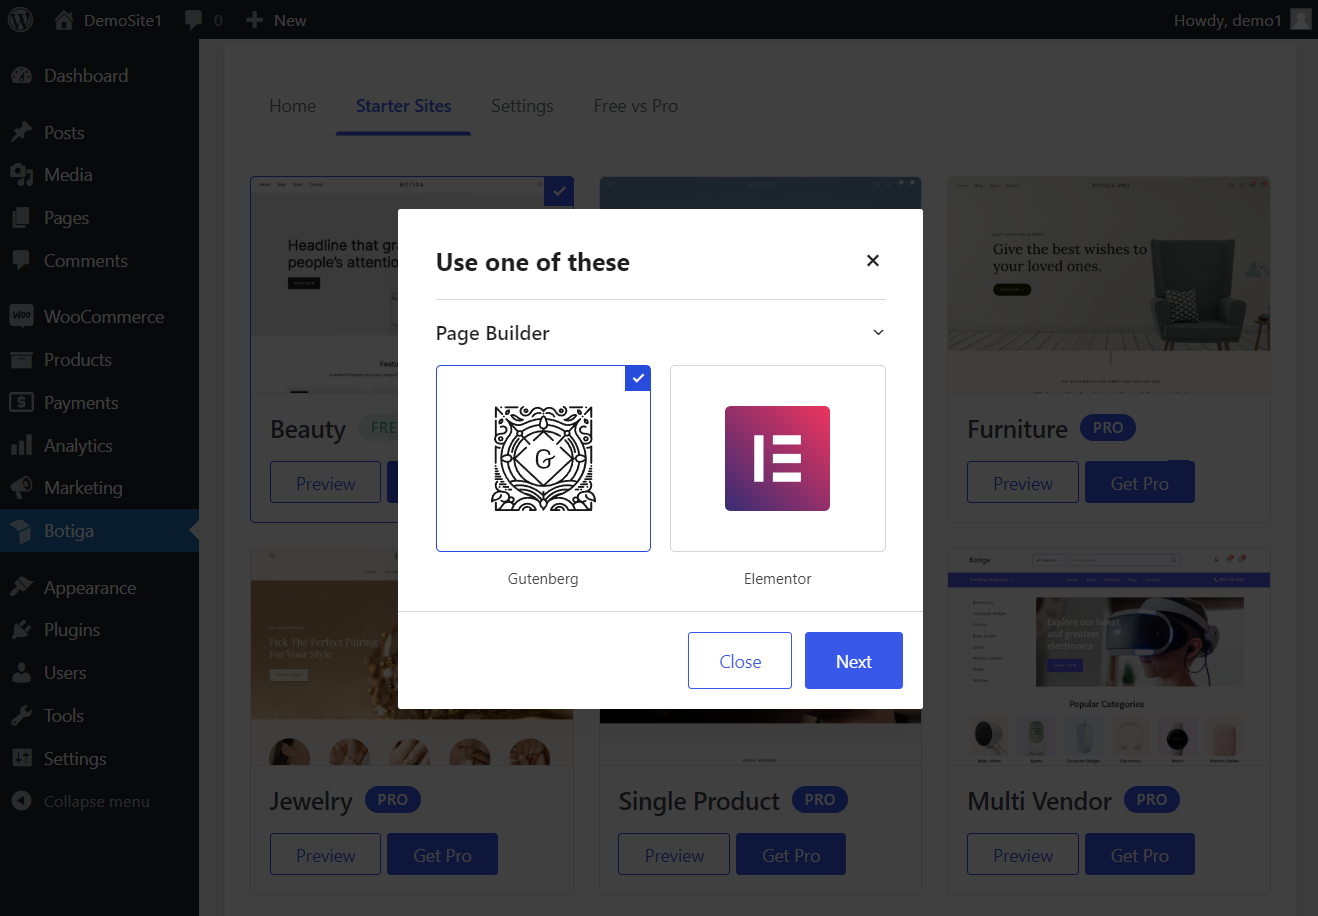
Next, choose between the Gutenberg and Elementor versions, depending on how you want to customize your website:
Now, decide whether you want to import the entire site, which includes images, headlines, texts, etc., or just placeholder content.
If you don’t have any preference, I recommend that you import the entire website along with all the content, widgets, and Customizer configurations, as you can still remove or change the elements later:

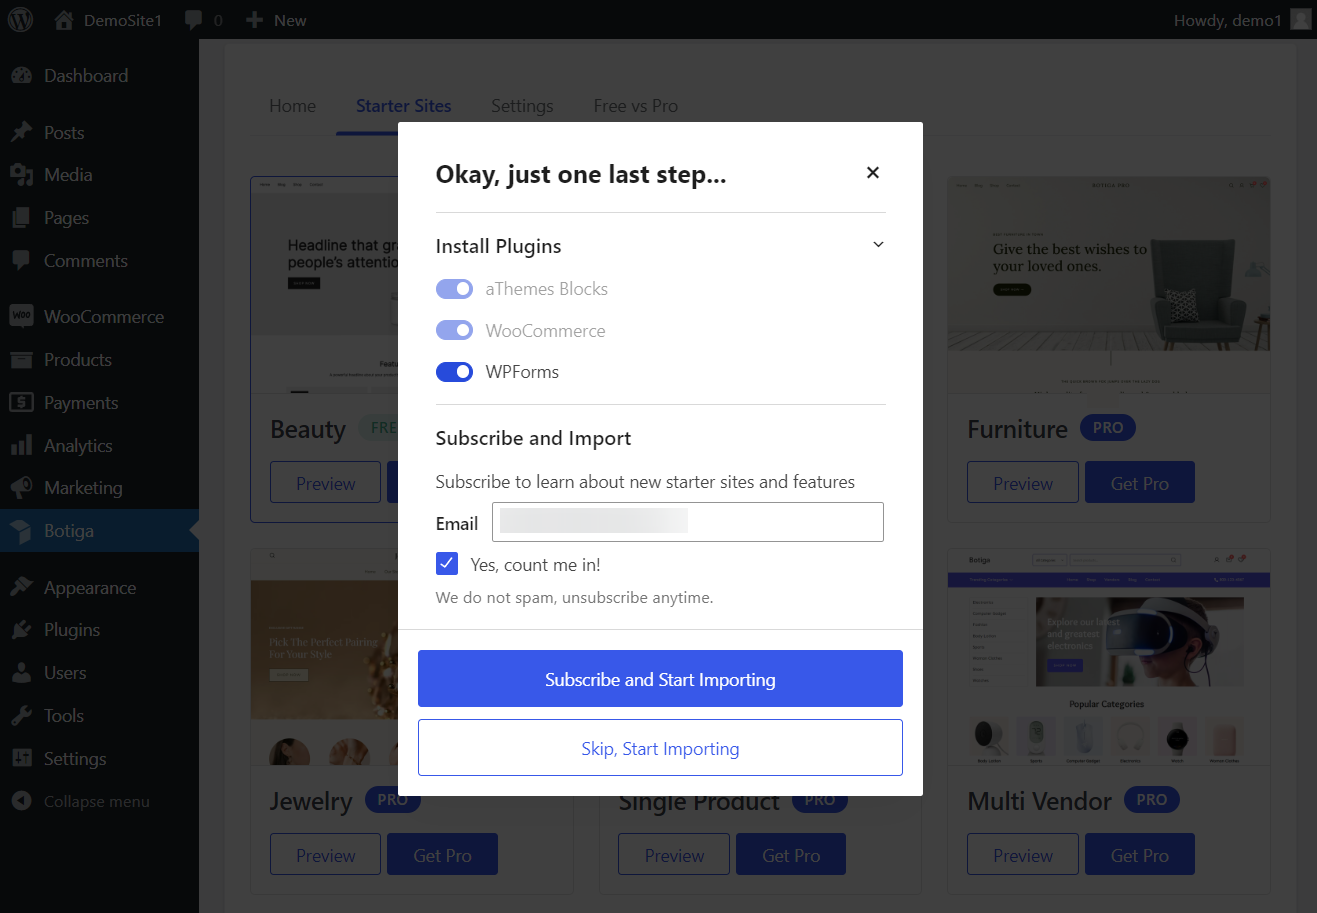
In the last step, you are shown the plugins Botiga wants to install on your website.
You also have the option to deselect some of the non-essential plugins before starting the import process:
It will take Botiga a couple of seconds to import the starter site. When the process is over, open your website to check out what your new design looks like.
3. Open the Customizer
You can change the number of products and rows appearing on your Shop page from the WordPress Customizer. Botiga has added its own options to the Customizer during the installation process (Step 1).
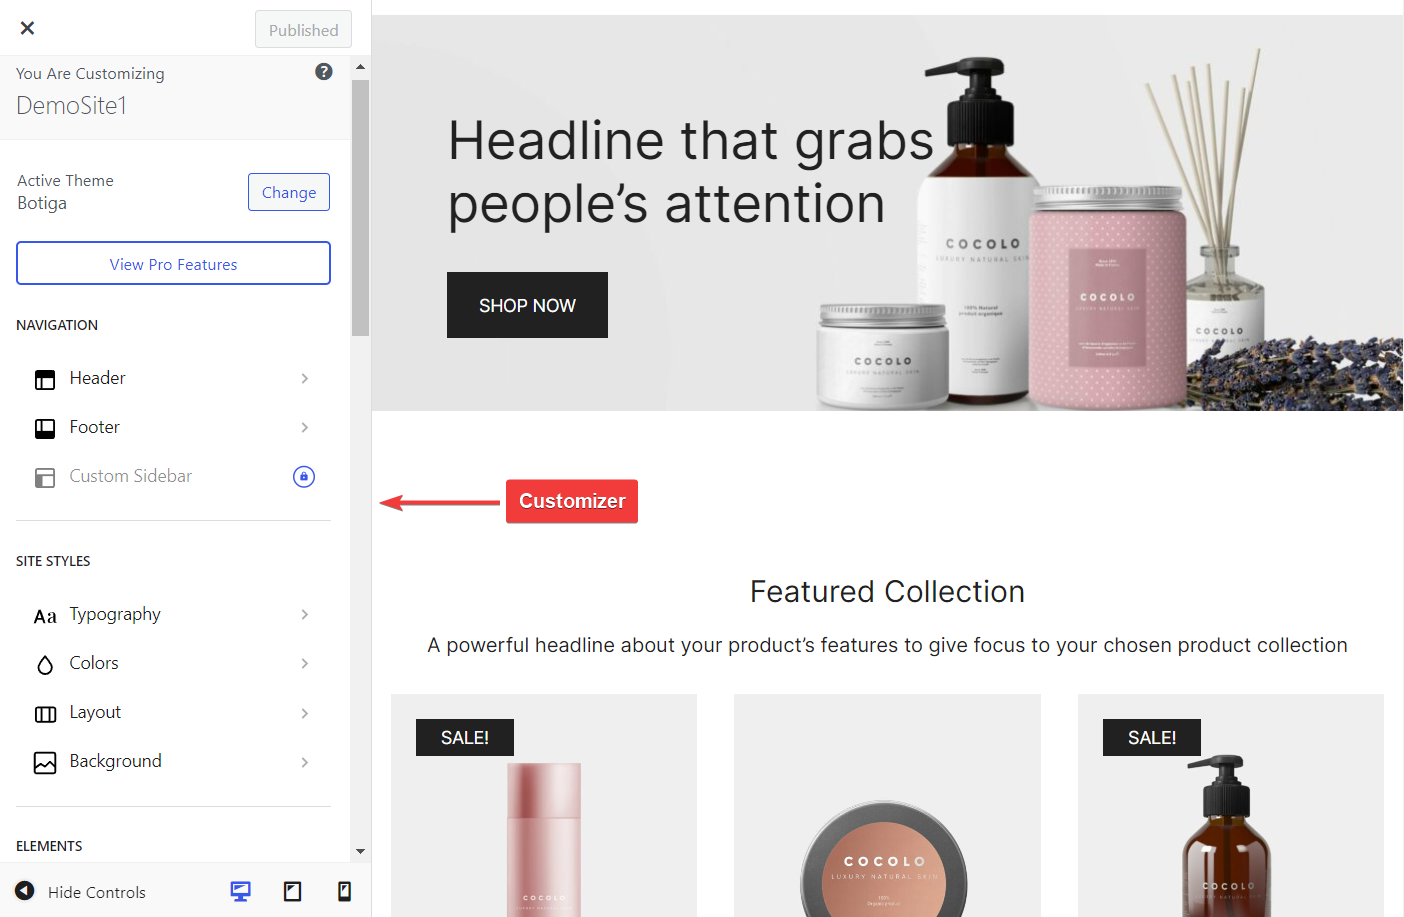
To open the Customizer, click the Appearance menu in your WordPress admin area and select the Customize option.
WordPress will take you to your homepage where the Customizer will appear on the left of the screen:
4. Change the Number of Products and Rows
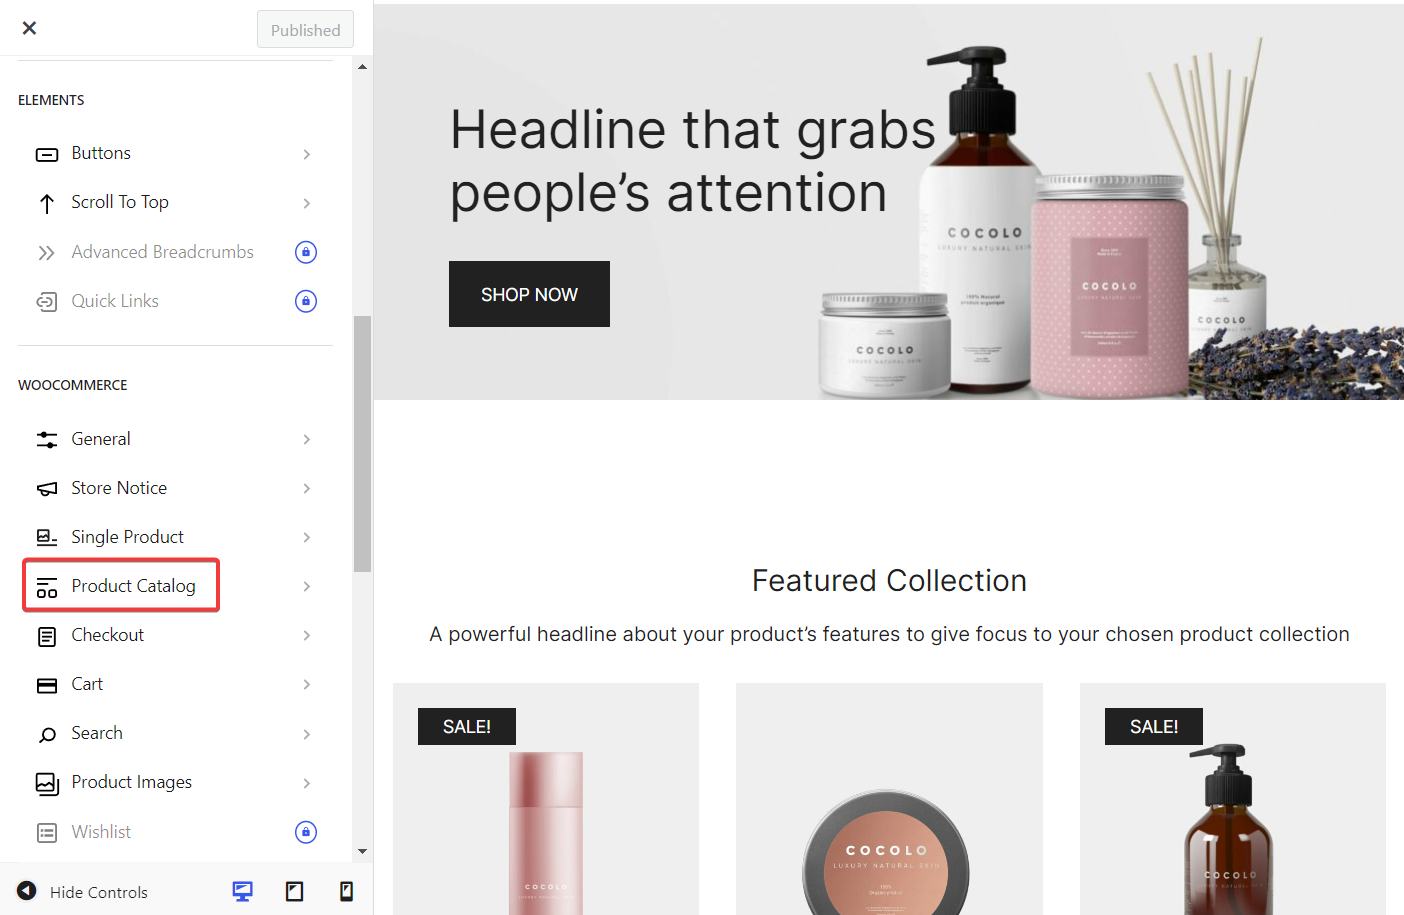
To change the number of products displayed per page on your Shop and other catalog pages, click the WooCommerce → Product Catalog option in the Customizer:
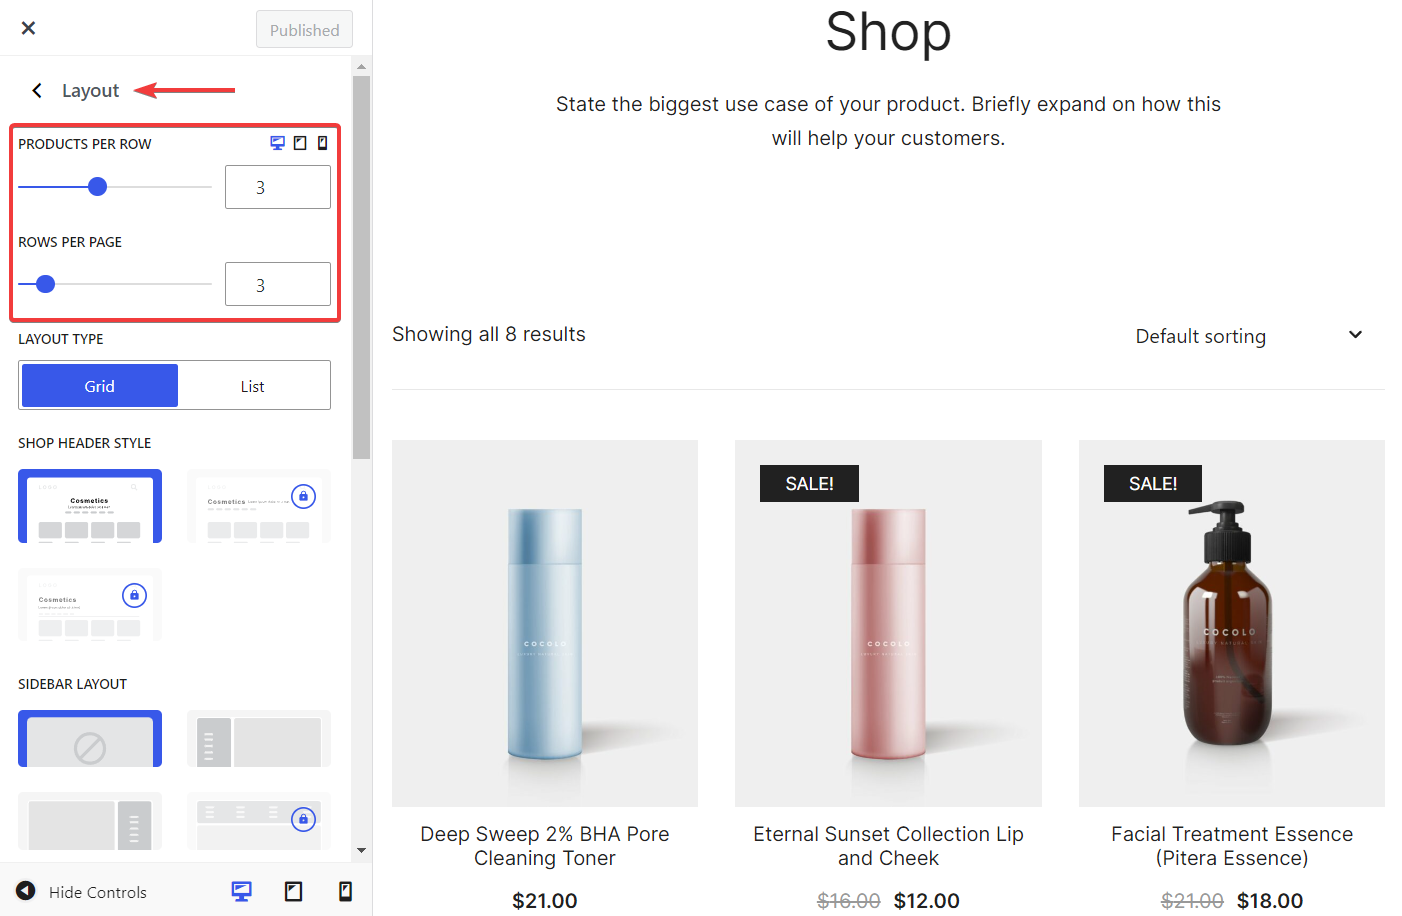
On the next panel, click the Layout tab to open the layout settings of the product catalog.
The first two options you’ll see are the Products Per Row and Rows Per Page options.
Configuring these two options will change the number of products and rows that appear per page on the Shop and catalog pages of your WooCommerce store.
You can also set up different numbers of products and rows for mobile and tablet users by clicking the tablet and mobile icons in the top-right corner of the Layout panel and configuring the Products Per Row and Rows Per Page options belonging to the mobile and tablet views:
Once the options are configured, click the Publish button at the top of the Customizer to save the settings.
5. Customize Your Shop Page Even Further
Botiga has some other options in the Layout panel that let you customize your Shop page layout.
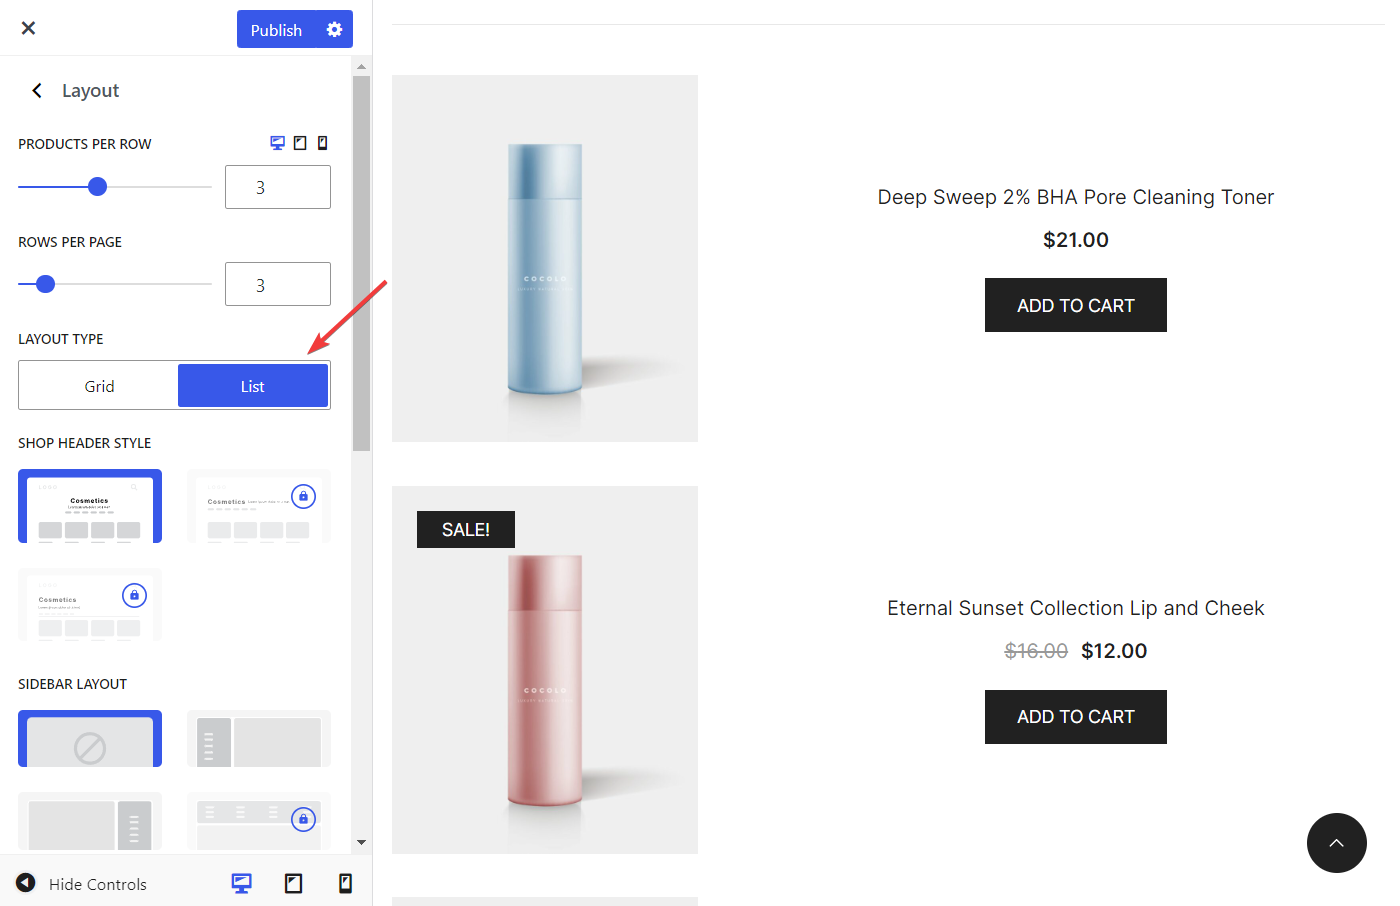
For example, the default WooCommerce Shop page shows products in a grid layout. With Botiga, you can change the Shop page layout from grid to list.
The list layout allows you to add more details to your product cards.
To change the layout type of your Shop page, go to Appearance → Customizer → WooCommerce → Product Catalog → Layout → Layout Type and select the List option:
Botiga also has an option that lets you add a sidebar to the left or right side of your Shop page so that you can show a newsletter box, a ‘Latest Posts’ widget, a ‘Top Rated Products’ widget, or other supporting content next to your product catalog.
To add a sidebar to your Shop page, scroll down in the Layout panel, find the Sidebar Layout setting, and select one of the available sidebar layouts:

Once the configurations are completed, click the Publish button at the top of the Customizer to save the changes.
6. Check Your Shop Page
Although the Customizer shows changes in real time, your Shop page can still end up looking unappealing when you close the Customizer panel.
So I recommend that you check out your Shop page without the Customizer being open on your screen.
If you don’t like what you see, go back to the Customizer and configure the Products Per Row, Rows Per Page, and the other product catalog options in the Layout panel.
That’s it. You have now changed the number of products and rows that appear on your WooCommerce Shop page.
Summary
Modifying the number of products and rows in your WooCommerce Shop page can be necessary when you are trying to improve the design and conversion rate of your store.
Botiga, our fast, user-friendly, and feature-packed theme built for WooCommerce websites allows you to change the number of products and rows in your product catalog while also enabling you to switch to a list layout, add a sidebar to the Shop page, and more.
You can change the number of products and rows on the Shop and other catalog pages in your WooCommerce store by following these steps:
- Install and activate the free Botiga theme.
- Import a starter site (optional).
- Open the Customizer.
- Change the number of products and rows in your product catalog.
- Change the layout and/or add a sidebar to your Shop page.
- Check the Shop page and make further modifications if needed.
Download our free Botiga theme and create a feature-rich, user-friendly, conversion-optimized WooCommerce store.
Do you have any questions about how to change the number of products and rows on a WooCommerce Shop page? Let us know in the comment section below.